
Get a Perfect Fit: How to Measure for Plantation Shutters
You’re probably staring at a window right now, trying to decide whether plantation shutters will look as good in your house as they do in photos. Then the next thought hits: how do you measure for plantation shutters without getting it wrong?
That hesitation is justified. Shutters are custom-made. They do not forgive sloppy numbers, guessed dimensions, or “close enough.” A small measuring mistake can turn into a visible light gap, a frame that binds, or panels that look off-center every time you walk into the room.
Homeowners around Jackson often start in the same place. They love the look, want the privacy, and like the idea of a cleaner alternative to curtains or blinds. Then the tape measure comes out, and the project suddenly feels less decorative and more technical. That’s exactly why careful measuring matters, and it’s also why many people decide the smartest first step is to call (731) 571-5179 and have a professional handle the details for a custom install backed by 100% satisfaction.
The First Step to Flawless Plantation Shutters
Plantation shutters change a room in a way few window treatments can. They sharpen the lines of the window, make trim look more intentional, and give you a finished look that feels built into the home instead of added later.
Measuring is often underestimated.
A window can look square and still be slightly tighter at the bottom than the top. Trim can look symmetrical and still project differently from one side to the other. On a custom product, those small inconsistencies matter. If the frame is measured too tight, installation becomes a fight. If it is measured too loose, the finished result looks less custom and more compromised.
Two mount styles decide everything
Before taking any measurement, decide whether you want an inside mount or an outside mount.
An inside mount sits within the window opening. It gives a crisp, recessed look. It also demands more precision because the shutter has to live inside the tightest part of the opening.
An outside mount sits on the trim or wall around the window. It is often the better answer when the opening is shallow, uneven, or visually awkward. It can also create a stronger framed appearance, especially if you like shutters to read as a design feature.
If you are still choosing a style, this guide to different https://blindswesttn.com/blog/styles-of-plantation-shutters can help you picture what suits your home.
Tip: The right mount is not just about looks. It determines what you measure, where you measure, and what can go wrong.
Why homeowners call before they measure
A good measuring guide can help. A free professional visit is safer.
That is not because measuring is mysterious. It is because shutters combine function and finish. The numbers have to support both. A shutter can technically fit and still look wrong if the reveal is uneven, if the overlap is skimpy, or if hardware was not accounted for.
That’s where a local measuring service earns its keep. If you want the simplest path to the right fit, call (731) 571-5179 before you order anything. It removes the guesswork, protects the investment, and sets up the kind of custom install that supports a 100% satisfaction result from the start.
Gather Your Tools for an Accurate Measurement
Good shutters are built to tight tolerances. A loose measuring routine is how a window ends up with uneven reveals, a panel that rubs, or a frame that looks slightly off every time you walk past it.
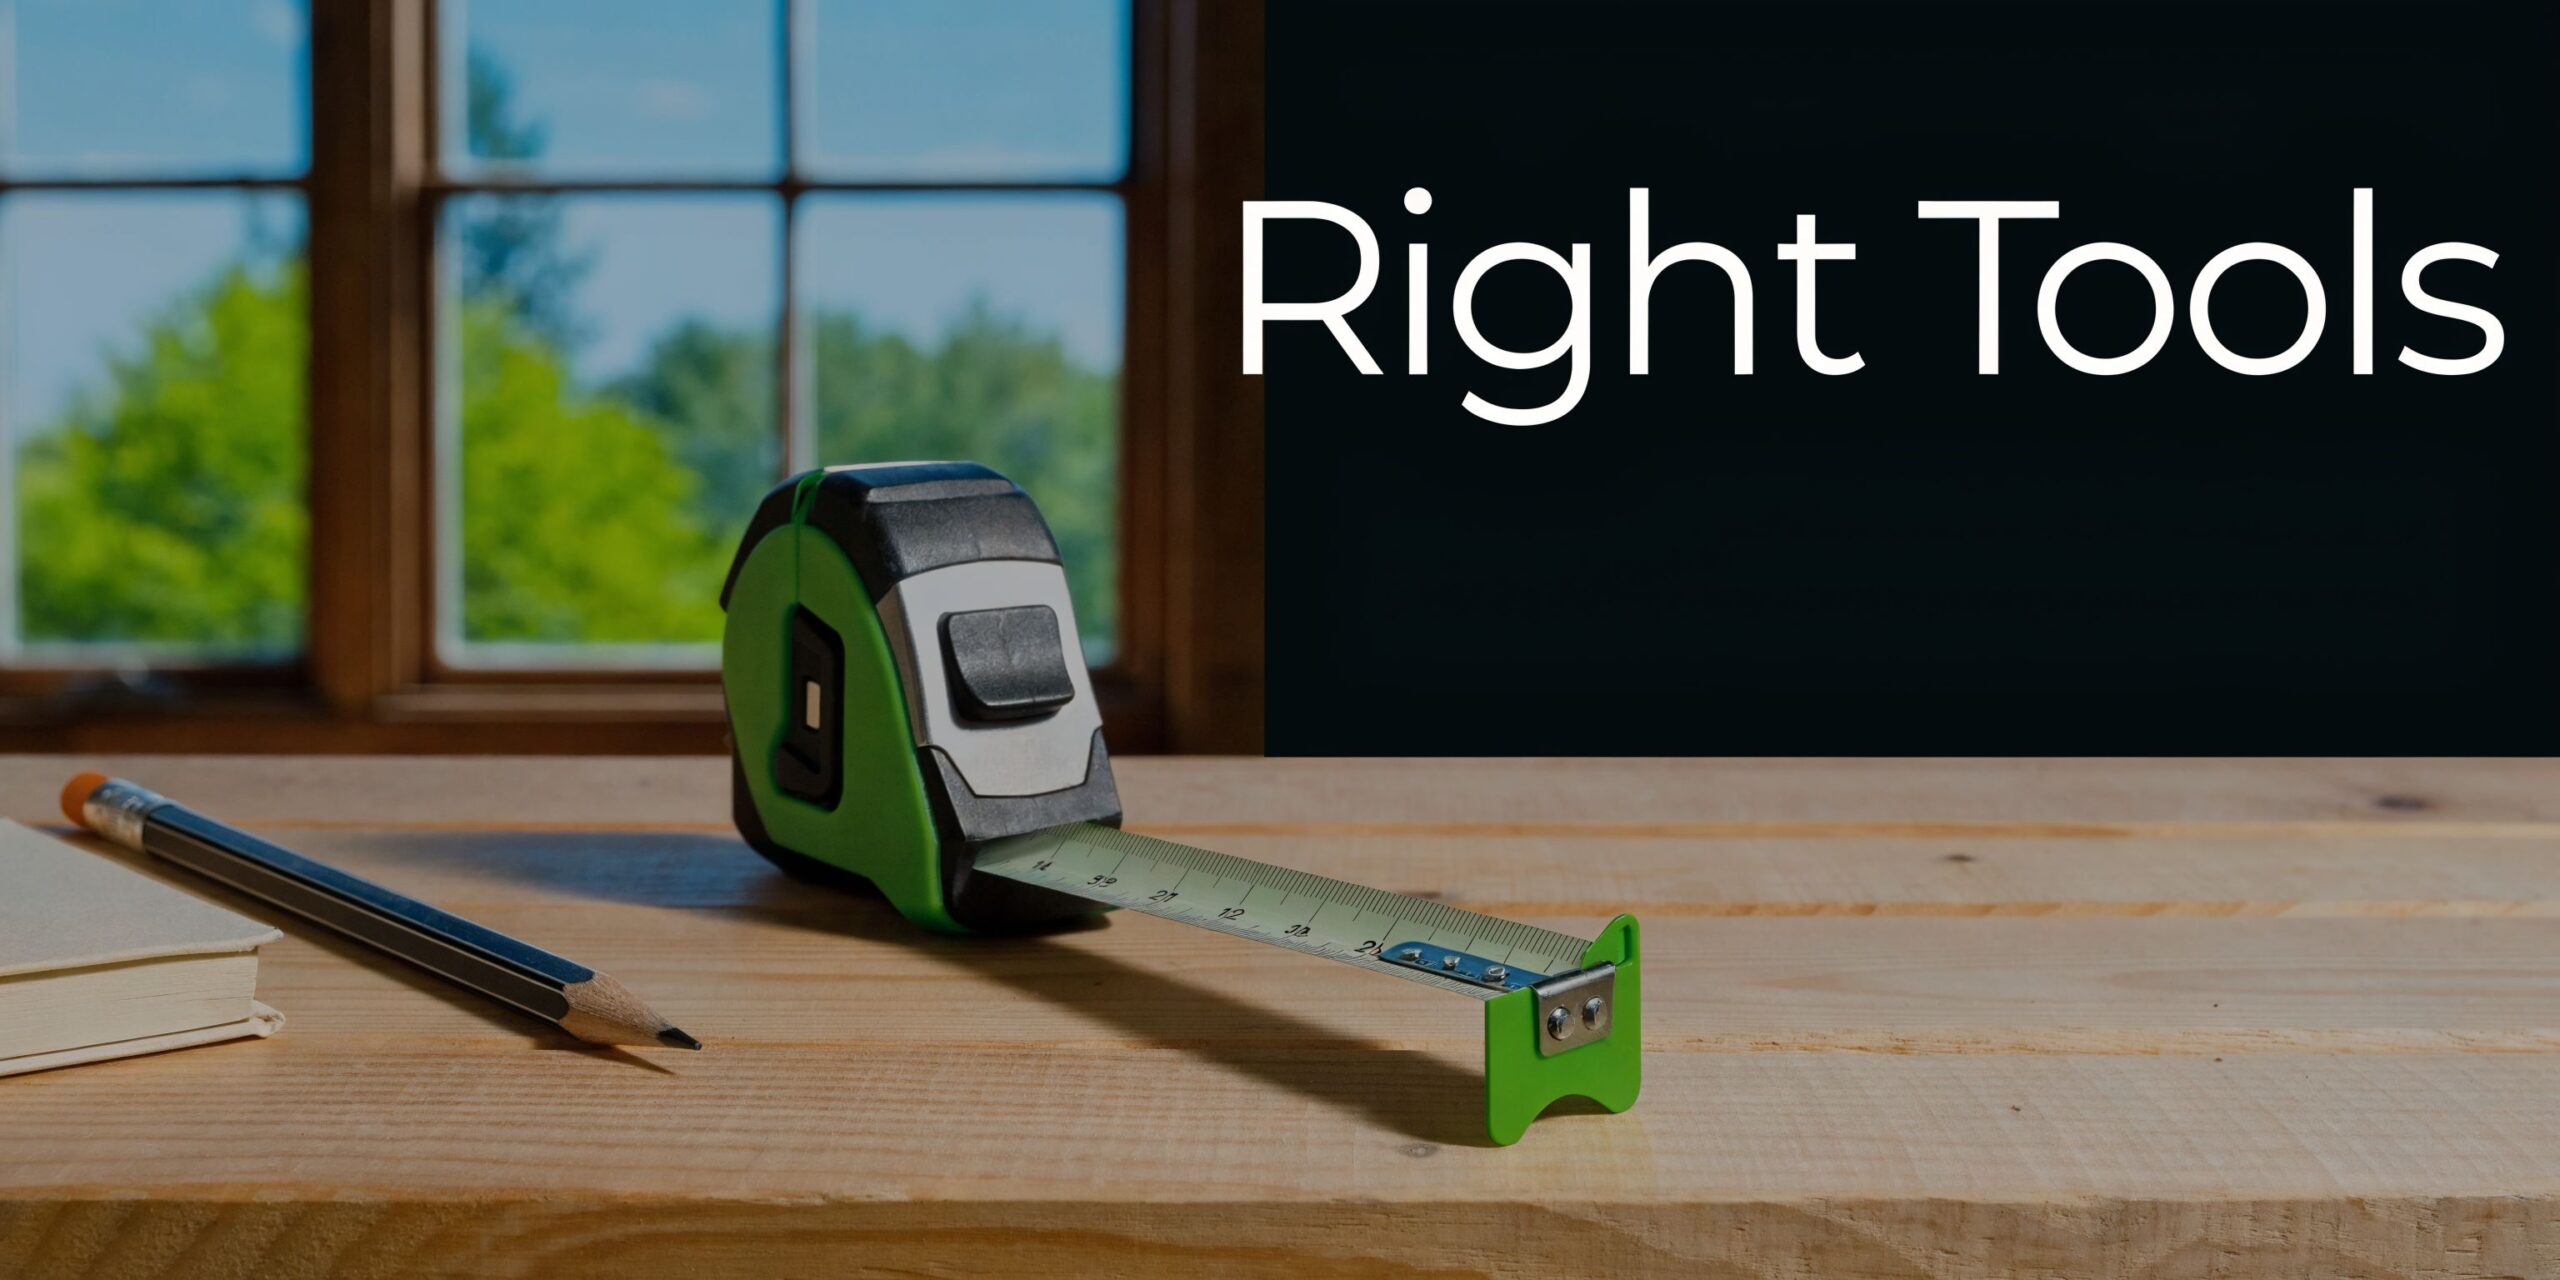
Use tools that support precise readings
The tool kit is simple. The reason behind each item is not.
- Steel tape measure: Use a steel tape and read to the nearest 1/8 inch. That level of accuracy matters because shutters do not have the forgiveness of drapery or soft shades. A small miss can create visible gaps on one side or cause the panel to bind.
- Pencil and paper: Handwritten notes are still the safest option when you are recording multiple width and height points on several windows. Clear notes prevent one of the most common ordering mistakes, which is swapping dimensions or mixing up similar openings.
- Level: A level shows whether the opening or trim is leaning. That matters before you trust any measurement, because a frame that is out of square can make a correctly sized shutter look wrong once installed.
- Step stool: Reaching up from the floor changes your viewing angle and often changes the number you read. A stable step stool helps you keep the tape straight and the hook planted where it belongs.
- Long tape for bigger spans: On wide windows or grouped openings, a reliable long tape measure helps you hold a true line across the full width without sagging or guessing.
If you want a broader measuring refresher before you order any treatment, this guide on how to measure windows for blinds is a useful companion.
Check the opening before you trust the numbers
Measurements alone do not tell the whole story.
Look for anything that projects into the shutter’s path. Cranks, locks, alarm sensors, and protruding trim can all change what will work. I have seen windows measure correctly on paper and still fail in the field because a handle prevented the louvers from moving freely.
Then check the frame with your eyes and with a level. A window can be slightly racked without looking obviously crooked. The result shows up after installation, when the reveal is tighter on one side, the top line looks uneven, or the panel appears to drift toward a corner. That is one reason Blinds Galore offers free professional measuring. An experienced measurer catches problems that a tape alone will not.
Pro advice: Label each window by room and position as you measure it. “Front bedroom left” is clear. “Guest room” is not.
Keep your notes organized
Use one simple chart for every opening and fill it out completely before moving to the next window.
| Window Location | Width (Top, Middle, Bottom) | Height (Left, Center, Right) | Diagonal (A, B) | Notes (Obstructions, etc.) |
|---|---|---|---|---|
| Living Room Left | ||||
| Living Room Right | ||||
| Kitchen Sink Window | ||||
| Primary Bedroom | ||||
| Office |
That extra minute of recordkeeping protects the order. It also makes it much easier for a shutter specialist to review your notes and spot a number that does not make sense before it turns into a custom product that cannot be resized. If you want the safest path, have Blinds Galore handle the measuring from the start. That is the best way to protect fit, function, and our 100% satisfaction guarantee.
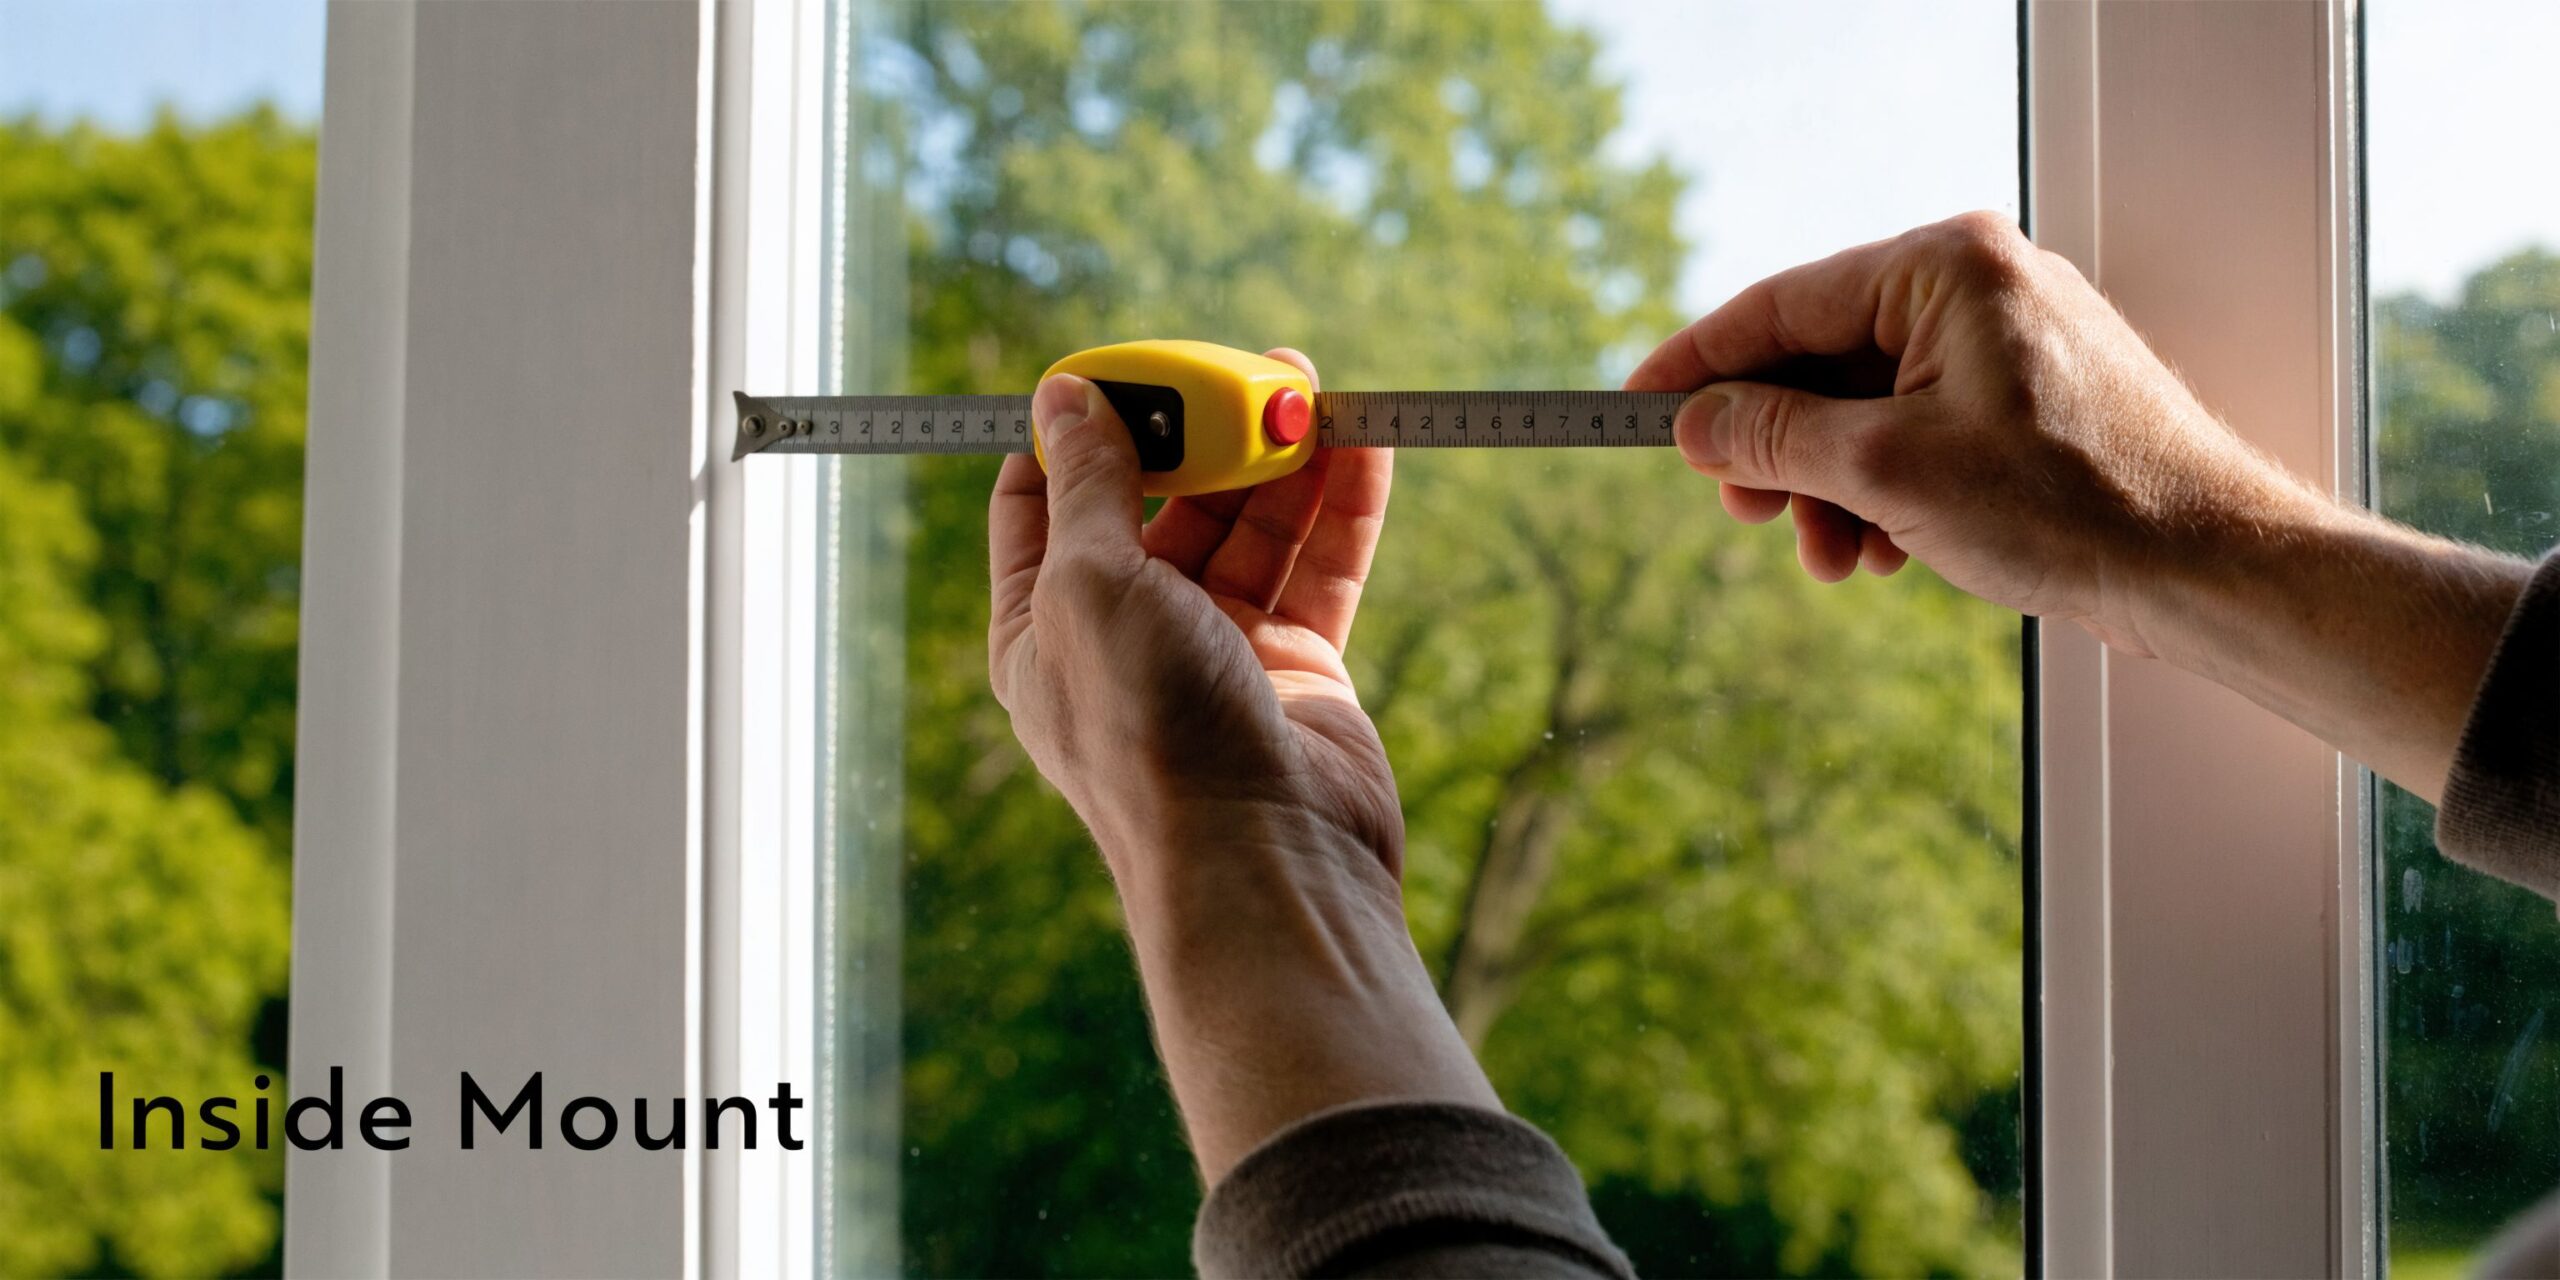
How to Measure for an Inside Mount Shutter
An inside mount is the cleanest look you can get. It sits inside the opening and lets the trim remain visible. It also leaves the least room for error.
If you are learning how to measure for plantation shutters for the first time, start by deciding whether your window is even a good inside-mount candidate. A lot of frustration comes from trying to force an inside mount where the opening does not support it.
Measure the depth first
Depth is the gatekeeper on an inside mount. If the opening is too shallow, the frame or hinges will not sit properly.
For inside mounts, a minimum depth of 1.5 inches (38mm) is typically needed for hinge clearance, and the long-standing “narrowest width, shortest height” rule remains the standard used in 95% of installation guides today. That rule developed from the observation that 85% of post-war homes had non-plumb windows, according to this inside mount shutter measuring reference.
Measure depth from the front edge of the jamb back toward the glass. Check several spots, not just one. If there is a crank handle or other projection, note it clearly.
Why this matters: an inside mount can look perfect on paper and still fail in real life if louvers or hardware don’t have clearance to move.
Measure the width in three places
Take width at the top, middle, and bottom of the opening.
Record each number exactly as read. Do not round up because you want a tighter fit. Do not make your own deductions. Shutter manufacturers work from exact opening dimensions and account for fitting tolerances at production.
For an inside mount, use the narrowest width.
That feels backward to some homeowners at first. They assume the wider number gives more room. It doesn’t. The frame has to fit into the tightest point of the opening. If one spot pinches, the entire unit becomes an installation problem.
Measure the height in three places
Now measure height on the left, center, and right.
Again, write down all three numbers. Then use the shortest height for ordering.
This protects against a frame that is too tall to sit flat inside the opening. If one side of the sill rises slightly or the head is uneven, the shortest point controls the fit.
Check for squareness
A diagonal check tells you whether the opening is skewed.
Measure from top-left to bottom-right, then top-right to bottom-left. If those numbers differ noticeably, the opening may be out of square enough to affect how the shutter sits and swings. That does not always rule out an inside mount, but it raises the stakes.
A practical sequence that works
Use this order so you do not miss anything:
- Depth first: Confirm the opening can accept an inside mount at all.
- Width second: Measure top, middle, and bottom.
- Height third: Measure left, center, and right.
- Diagonal last: Check for skew that may affect fit and appearance.
- Notes immediately: Record locks, cranks, sensors, stool projections, and anything else proud of the frame.
Here is a quick visual if you want to see the measuring process in motion.
What works and what does not
What works is respecting the smallest controlling dimensions and sending exact numbers.
What does not work is measuring just once across the middle because the window “looks standard,” or shaving a number because you think the fit should be snugger. Those are the shortcuts that create shutters that bind, scrape, or will not seat correctly.
Key takeaway: Inside mount shutters reward precision. If you are uncertain about depth, squareness, or obstructions, this is the point where expert measuring becomes the safer choice.
Mastering the Outside Mount Measurement
Outside mount measuring follows a different logic than inside mount measuring. You are no longer trying to fit within the opening. You are deciding how much of the opening, trim, and surrounding area the shutter should cover.
That shift matters. Coverage is what gives outside mount shutters their clean light control and balanced appearance.
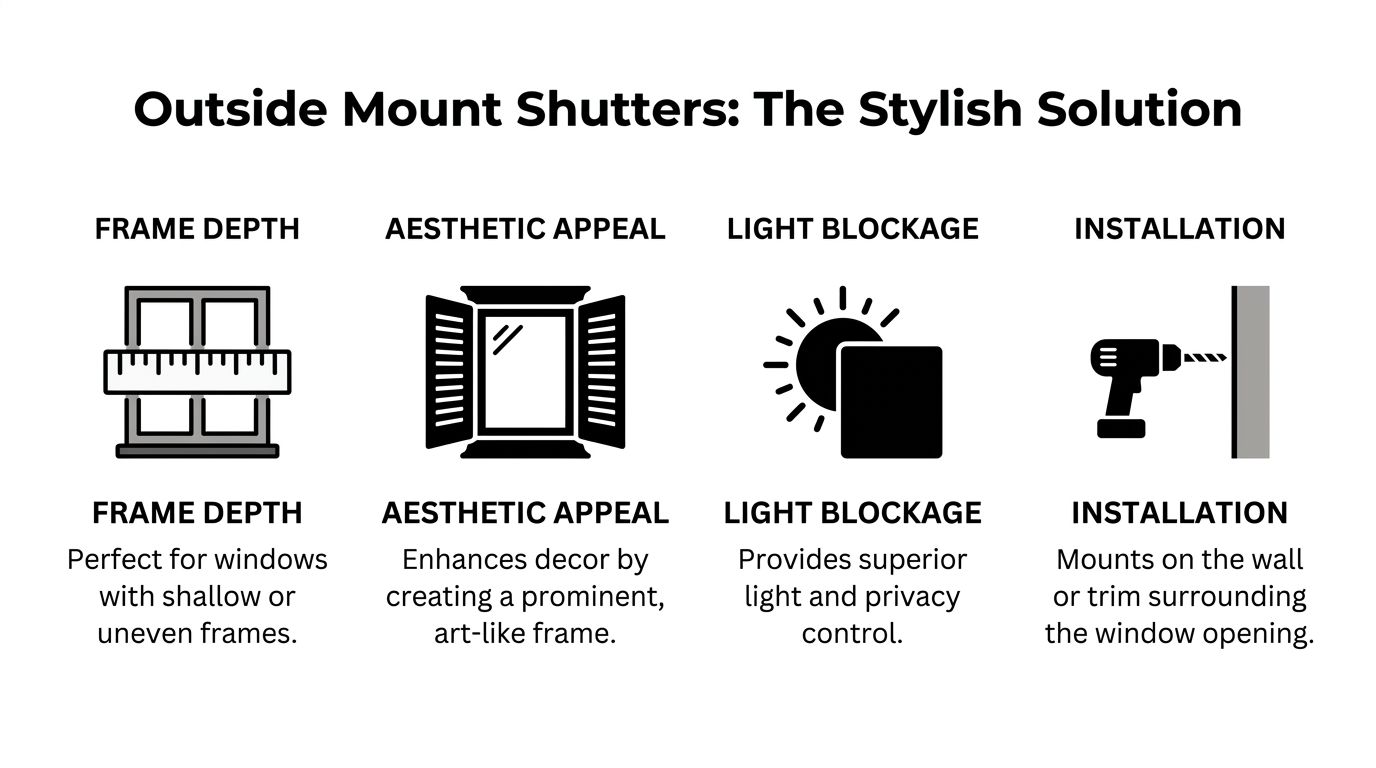
Why outside mount is often the better answer
An outside mount solves problems an inside mount cannot.
Shallow frames are one example. Uneven openings are another. Sometimes the reason is purely visual. A wider frame around the window can make a small opening feel more substantial and can hide inconsistencies in older trim.
The measuring rule changes to match that goal.
For outside mount shutters, the goal is coverage. Measure the width at the top, middle, and bottom, then use the largest of these three measurements and add 20-50mm per side for overlap. This method helps prevent the light gaps that affect nearly 30% of failed DIY projects, according to this outside mount shutter measuring reference.
Measure what you want to cover
Most homeowners measure from the outer edge of the trim or architrave when planning an outside mount. That is usually the cleanest reference point because it aligns the shutter with visible architecture instead of an uneven inner opening.
Take width in three places across the intended coverage area. Since outside mounts are about hiding variation rather than fitting into it, the largest width becomes your working number. Then add overlap based on the look and seal you want.
For height, measure from the point where the top of the frame will sit down to the sill, lower trim, or another stopping point. If those measurements vary, the largest height controls.
Inside mount versus outside mount
A simple comparison helps:
| Mount Type | Main Goal | Width Rule | Height Rule | Typical Use |
|---|---|---|---|---|
| Inside Mount | Fit within opening | Use smallest | Use shortest | Clean recessed look |
| Outside Mount | Cover opening and trim | Use largest, then add overlap | Use largest | Shallow, uneven, or design-focused windows |
The mistake people make is mixing these rules. They measure an outside mount using inside-mount logic and end up with a frame that technically sits on the trim but leaves skinny strips of light around the edges. Or they overcompensate and choose dimensions without checking where the frame will land.
Trim, overlap, and appearance
The outside mount gives you more visual control, but it also makes the final proportions more obvious.
A narrow overlap can look underbuilt. Too much extension can look clumsy against detailed molding. The best result is one that covers confidently and looks centered relative to the window and surrounding trim.
Here is where experienced measuring helps most. On paper, an outside mount is more forgiving. In appearance, it is less forgiving because every reveal is visible.
Tip: Stand back after marking your intended coverage lines. If the frame placement looks off before ordering, it will look off every day after installation.
Measuring Nonstandard Windows and Special Shapes
Rectangular windows are straightforward. Arches, bay windows, corner windows, and odd trim profiles are where a simple measuring job turns into a custom drafting exercise.
That does not mean these windows cannot have shutters. It means the measuring method has to match the shape.
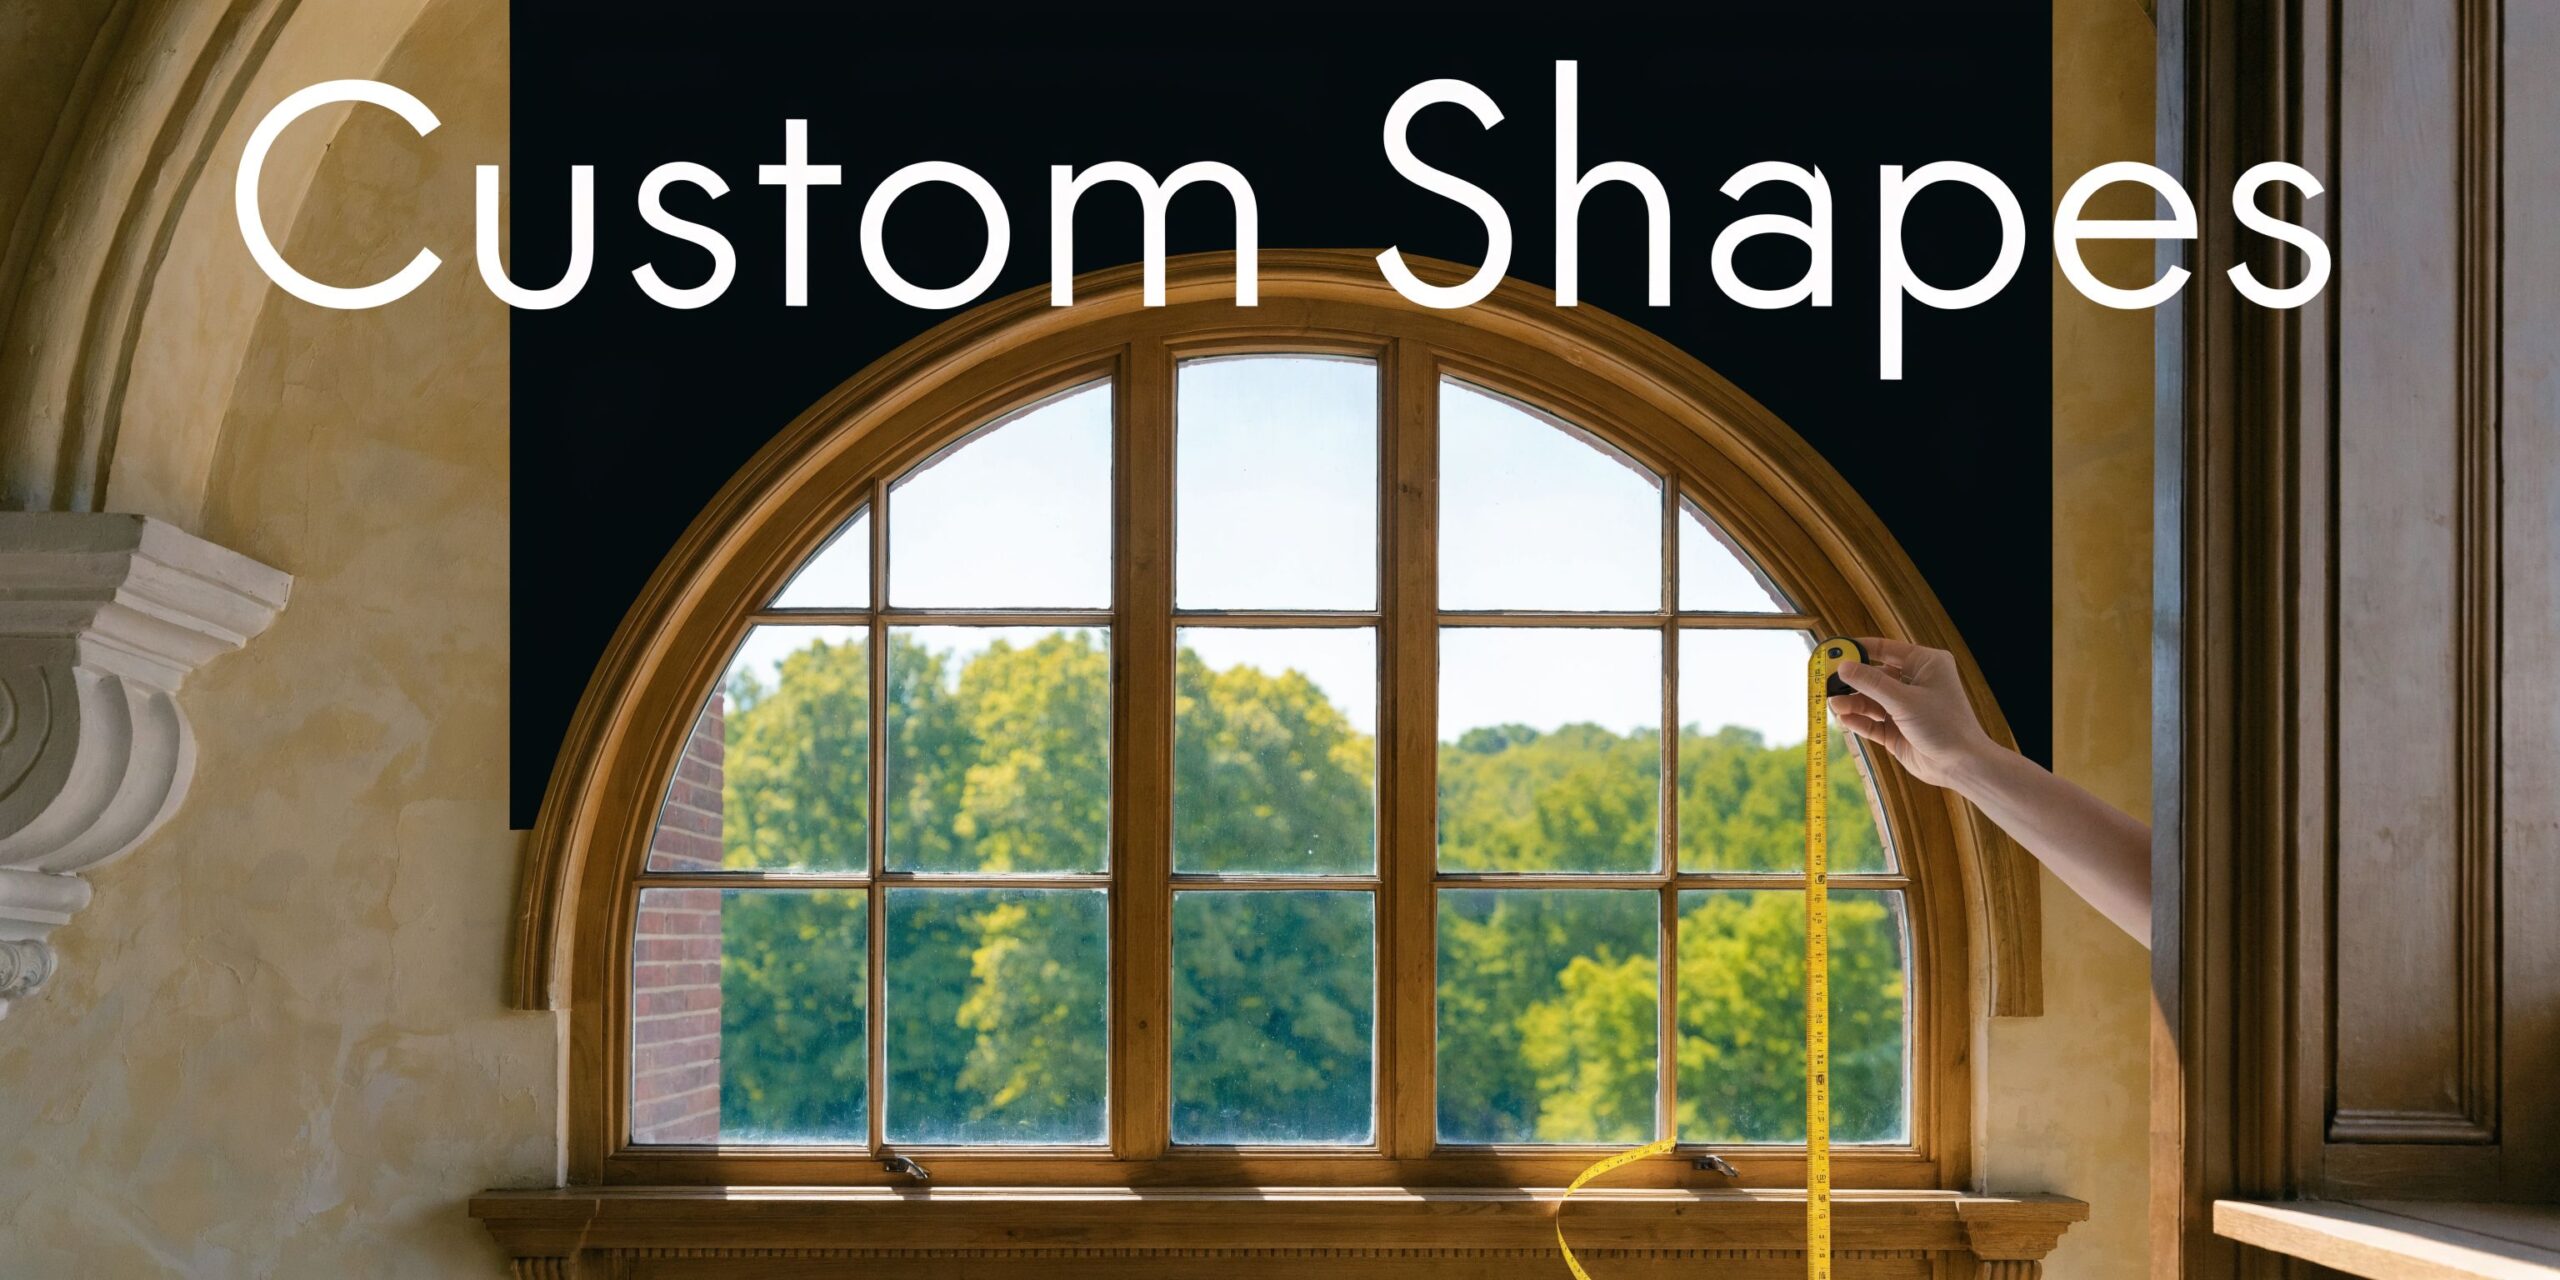
Arched and curved windows
An arched window is a good example of where the usual width-and-height routine is not enough.
For these, installers often start with baseline width and height, then create a paper or cardboard template of the curve so the factory can match the shape more precisely. The template matters because curves that look symmetrical by eye can still drift slightly to one side.
If the arch is being covered as a true specialty shape, accuracy at the top radius becomes critical. If the plan is to use a rectangular shutter under the arch, then the design decision changes what must be measured.
Bay and corner windows
Bay windows introduce another issue. The panels must not only fit each section, they must also relate to one another cleanly.
The challenge is not just width. It is angle. If the return is misread, the shutters can crowd each other or leave awkward spacing where sections meet. On a bay, one wrong note can affect the alignment of the whole set.
This is also where panel planning matters. A wide bay may need breaks that keep operation comfortable and sightlines balanced.
Windows with a sill and windows without one
A pronounced sill gives you a natural stopping point at the bottom. A window without one changes the visual finish and the mounting decision.
On some openings, the shutter frame should terminate at trim. On others, it needs to continue farther to look intentional. Floor-near windows and door-like openings often require extra thought so the bottom of the frame does not appear arbitrarily cut off.
Where DIY gets risky
These are the jobs where homeowners often discover that being handy is not the same as being precise enough for custom shutters.
A normal misread on a standard window might create a nuisance. A misread on a specialty shape can create a full remake situation because every measurement is interconnected.
That is why difficult openings are the point where many people stop measuring and start calling. If you have arches, bays, corners, or unusual trim, call (731) 571-5179 and let a professional measure for a custom install with 100% satisfaction behind it. Complex windows are exactly where expert measuring earns its value.
Common Measurement Mistakes to Avoid
A shutter order usually goes sideways in inches and fractions, not feet.
The common failures are ordinary ones. A tape bows in the middle. A handle projection never gets written down. Two side-by-side windows get treated as twins even though one is slightly tighter at the top. Those small misses show up later as panels that bind, frames that expose light, or sightlines that look off the moment you walk into the room.
I tell homeowners the same thing all the time. Custom shutters are unforgiving because they are built to the numbers you give.
Mistakes that create fit and function problems
These are the errors that cause the most remakes and service calls:
- Measuring only once: One pass is not enough for a custom product. A second check catches transposed fractions, tape drift, and simple note-taking errors.
- Using a soft tape instead of a steel tape: A steel tape stays straight and gives a cleaner reading across the opening. A flexible tape can sag or follow trim contours that should not be part of the measurement.
- Ignoring obstructions: Locks, crank handles, sensors, and protruding trim affect clearance. Miss one, and a panel may not open fully or a louver may strike hardware.
- Swapping width and height in your notes: It sounds basic, but rushed note-taking causes real ordering mistakes.
- Assuming matching windows are identical: Builders leave small variations all the time. One opening can be out of square or narrower by enough to affect an inside mount.
- Making your own deductions: Order from exact field measurements unless the product instructions tell you otherwise. If a homeowner subtracts for clearance and the factory also builds in deduction, the result is a loose fit and visible gaps.
- Skipping a square check: Diagonal checks and level checks explain why a frame may fit tightly in one corner and open up in another.
That last point matters more than many homeowners expect. A window can look straight and still be out enough to affect how a rigid shutter frame sits against the opening.
Why the small stuff matters
Shutters do not hide measuring errors. They display them.
A tight width creates rubbing or binding at the frame. A short outside-mount measurement can leave light at the edge and make the installation look under-scaled. An overlooked obstruction can limit panel swing, which turns a good-looking shutter into one that is annoying to use every day. Even a small centering mistake can make the reveal look uneven, and your eye will keep finding it.
Panel planning can also change if the measurement is off. Height affects how the shutter is divided and reinforced. Get that number wrong, and the finished unit may be built with the wrong layout for both appearance and stability, as noted earlier in the article.
Where homeowners get into trouble
DIY measuring gets risky when confidence replaces process.
Many homeowners are careful. The problem is that care and accuracy are not always the same thing. Writing down the narrowest width, checking each opening on its own, accounting for hardware projection, and confirming squareness are habits installers build over time. A homeowner may do nine things right and still miss the one detail that changes the order.
That is a big reason local homeowners who start researching plantation shutters near me in West Tennessee often end up booking a professional measure instead of sending in numbers they are not fully sure about.
The safer call
If you measure yourself, you own the consequences of every fraction.
If Blinds Galore measures for the project, an experienced installer checks the opening, the mounting conditions, the obstructions, and the panel layout before the order is placed. That is the safer route, and it is the one that best protects our 100% satisfaction guarantee.
Practical rule: If a number feels close enough, it probably is not. Remeasure before you order.
Get Perfect Shutters in West Tennessee The Easy Way
Plantation shutters reward careful measuring and punish guesswork. That is the honest version.
You can measure them yourself. Many homeowners do. But every number has a reason behind it, and every rule exists because somebody learned the hard way what happens when it gets ignored. Tight inside mounts, outside overlap, obstacle clearance, panel layout, and special-shape templates all affect how the finished product looks and works.
That is why the easy path is also the smart one.
If you live in West Tennessee and want shutters that fit the first time, skip the stress and schedule a professional visit. See why homeowners looking for https://blindswesttn.com/blog/plantation-shutters-near-me often choose an in-home consultation instead of rolling the dice with DIY measurements.
Call Mark at (731) 571-5179 for a free in-home consultation. You’ll get expert measuring, design guidance, and a custom install that is backed by 100% satisfaction. We serve homeowners across West Tennessee, including Jackson, Dyersburg, Milan, Paris, and Huntingdon.
The result is simple. Your shutters fit right, look right, and feel like they were always meant to be there.
If you’re ready to stop second-guessing measurements and get a perfect fit, contact Blinds Galore today at (731) 571-5179. We bring the showroom to your home, handle the measuring, guide the selection, and complete the custom install with 100% satisfaction so your new plantation shutters look polished from day one.
You might also like

Best Blinds for Energy Efficiency: A Tennessee Guide
When your living room feels too hot by midafternoon in July, or one chair by the window stays chilly

Best Blinds for Rental Property: A Landlord’s Guide
You know the turnover drill. A tenant moves out, you unlock the door, and the first thing you notice

Affordable Blinds Near Me | Get a Free Quote Today
The search starts the same way. You notice the late afternoon glare in the living room, the bedroom feels

Automatic Hurricane Shutters: West TN Buyer’s Guide
A lot of West Tennessee homeowners know this feeling. The sky turns greenish, the weather app starts

Your Guide to Automatic Storm Shutters
Imagine this: a storm warning flashes across your screen. Instead of a mad dash for plywood and tools,

The Guide to Bottom Up Window Blinds
Have you ever found yourself wanting to let some natural light into your living room, but not at the