

How to Install Custom Faux Wood Blinds in Your Jackson, TN Home: a 10-Step Guide
Quick answer: Installing custom faux wood blinds in a Jackson, TN home is a manageable DIY project for most homeowners. You'll need a tape measure, a level, a cordless drill, and the right mounting brackets — all typically included with your blinds. The process involves measuring your window opening accurately, choosing inside or outside mount, securing the brackets, snapping in the headrail, and testing the tilt and lift mechanisms. Most windows take 15–30 minutes each. That said, professional installation guarantees a perfect fit, especially on large, arched, or oddly shaped windows.
1. Why Faux Wood Blinds Are the Smart Choice for West Tennessee Homes
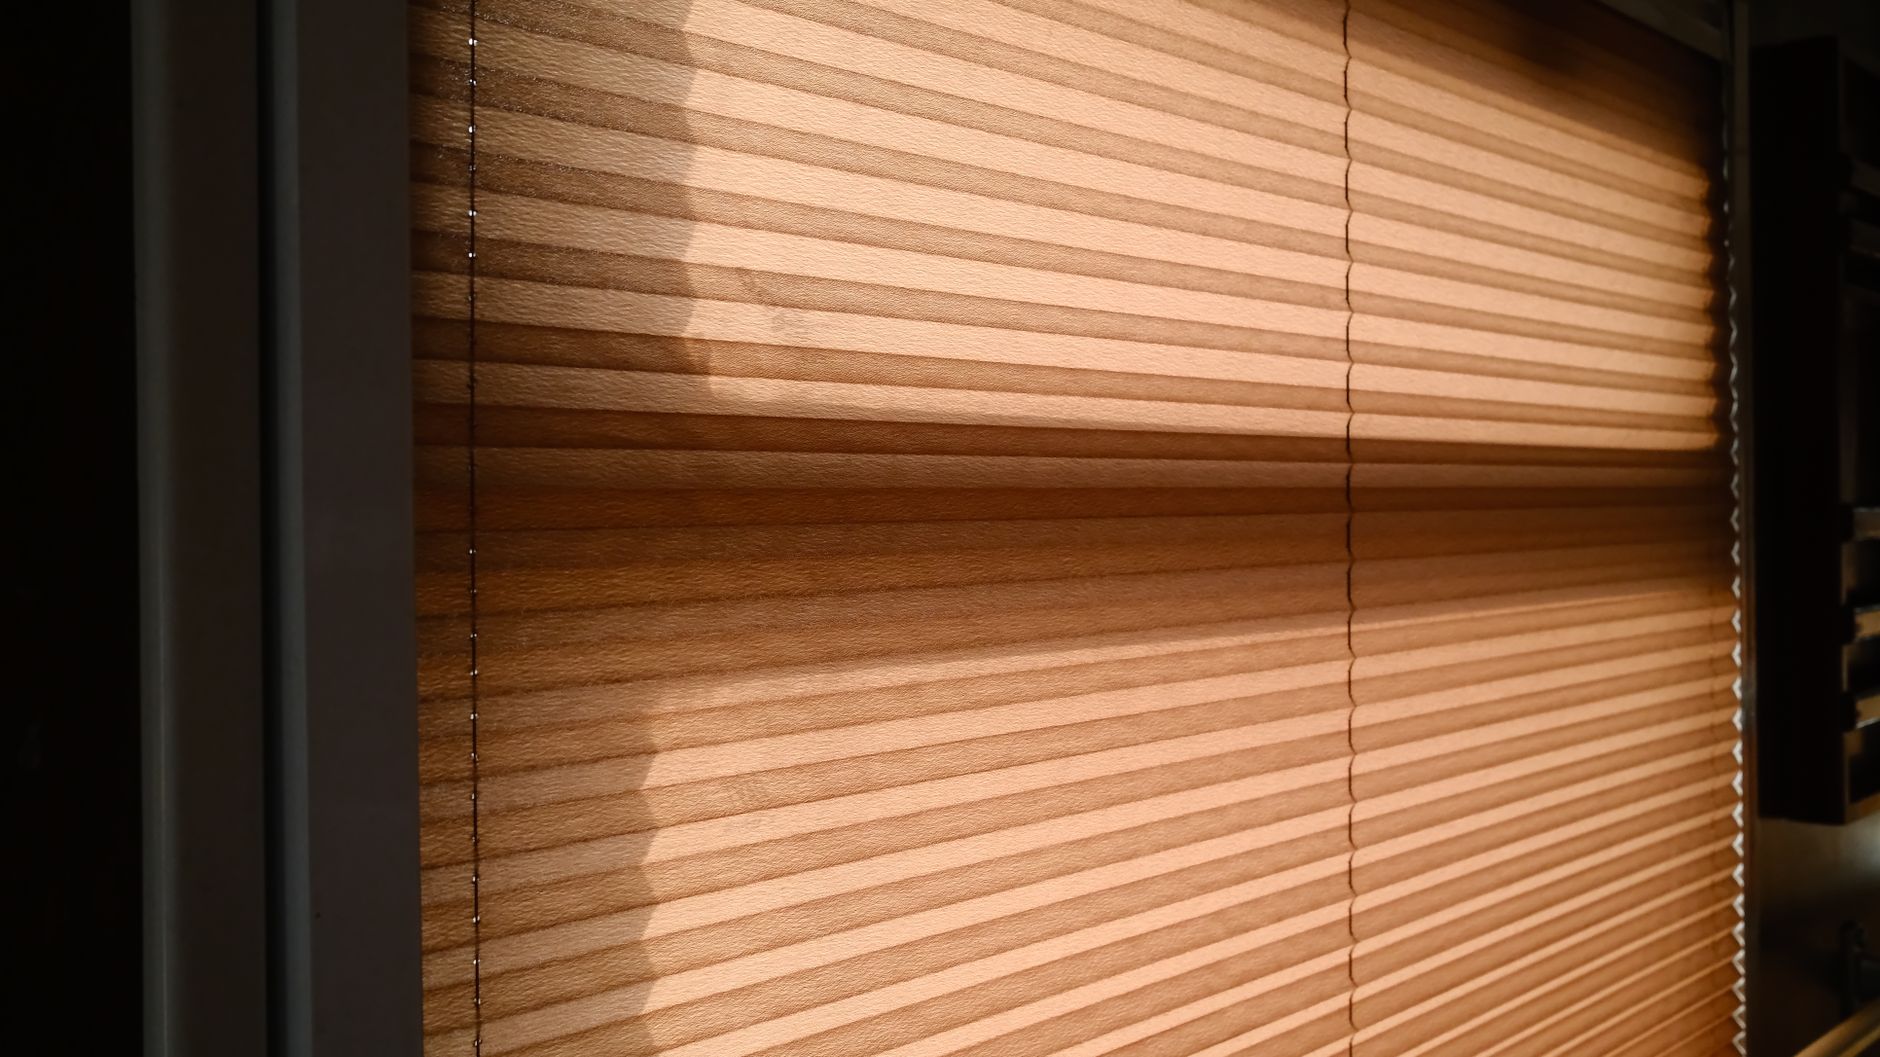
Before you pick up a drill, it’s worth understanding why faux wood blinds have become the go-to window treatment for homeowners across Jackson, Lexington, Henderson, and Milan. The combination of durability, affordability, and good looks makes them a near-perfect fit for West Tennessee’s climate and home styles — from older craftsman bungalows to new construction subdivisions.
Humidity, Heat, and Durability
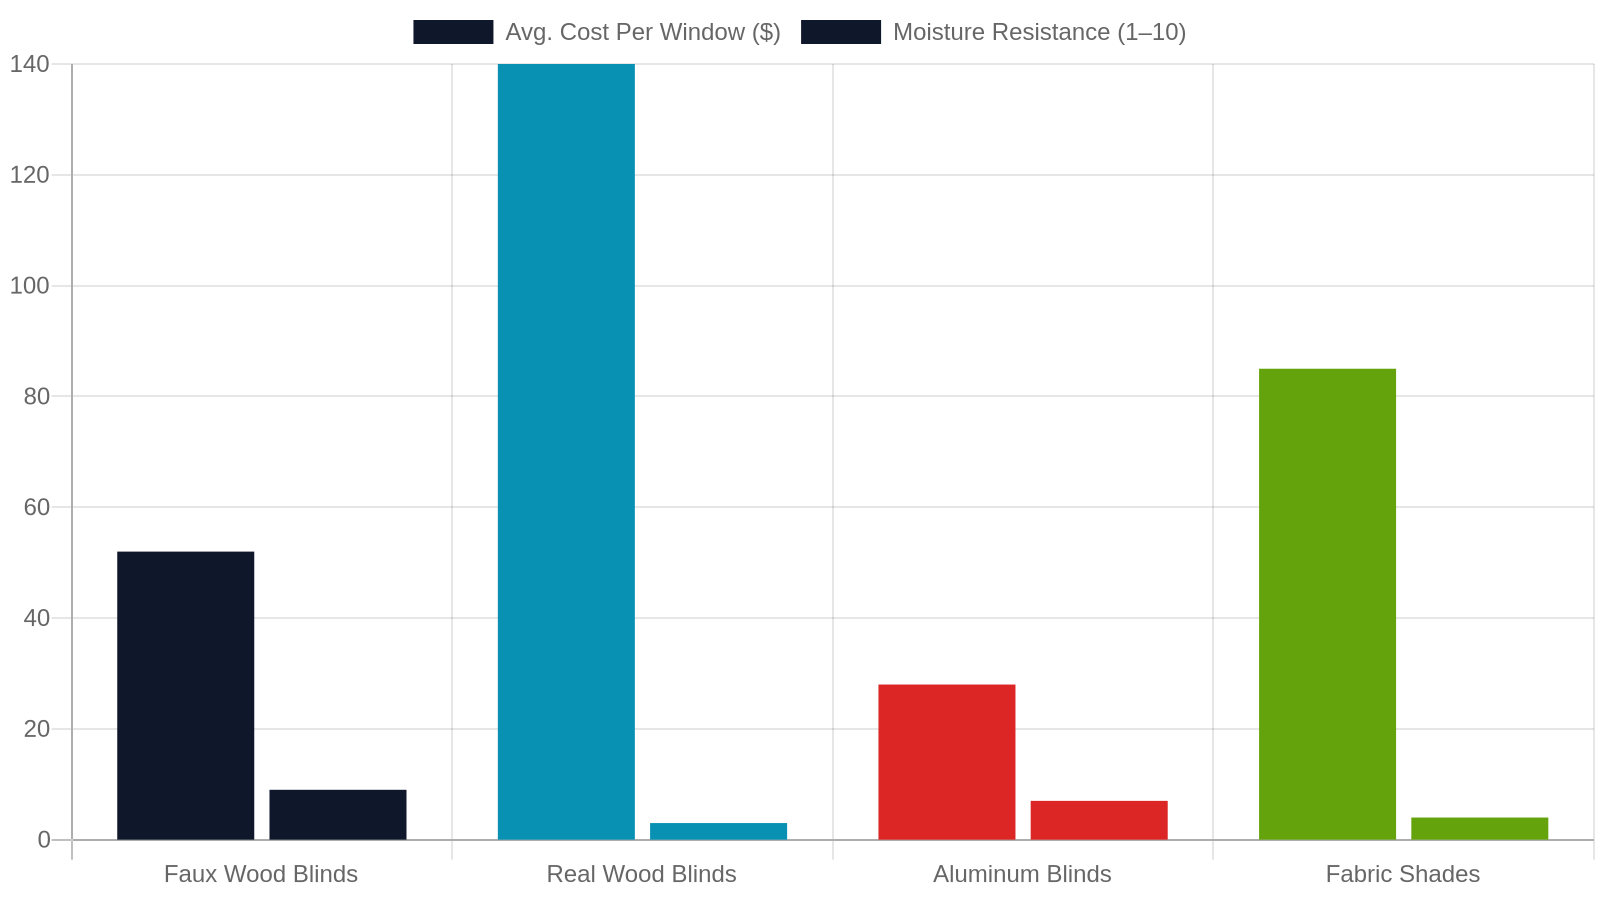
West Tennessee summers are no joke. Jackson, TN regularly sees humidity levels above 70% from May through September, and interior spaces can swing between air-conditioned cool and muggy warmth whenever doors open. Real wood blinds warp, crack, and fade under those conditions — sometimes within a single season. Faux wood blinds, made from PVC or a composite wood-PVC blend, are engineered to resist moisture, making them ideal for kitchens, bathrooms, laundry rooms, and any room that sees temperature swings.
They also hold their finish far longer than real wood in direct sunlight, which matters when your west-facing living room gets hammered by afternoon sun from April through October.
Cost Savings Without Sacrificing Looks
Custom faux wood blinds typically run $25–$80 per window for standard sizes, compared to $80–$200+ for real wood blinds of comparable quality. Over a whole house — say, 12 windows — that difference can easily reach $600–$1,500. And because faux wood holds up better in humid climates, you’re less likely to replace them in five years. The visual difference? Minimal. Modern faux wood blinds mimic the grain and warmth of real wood so closely that most guests won’t notice.
Energy Efficiency in the Jackson Climate
A properly fitted set of faux wood blinds can reduce solar heat gain through windows by up to 45% when fully closed, according to the U.S. Department of Energy. In a Jackson, TN home running the AC from April through October, that translates to real savings on your monthly utility bill. Thicker 2-inch slat blinds provide better insulation than 1-inch versions, creating a small but meaningful air buffer between the glass and your living space.
2. Tools and Materials You'll Need Before You Start
Gathering the right tools before you start saves you two trips off the ladder. The good news: faux wood blind installation is one of the friendlier DIY home projects because no specialty tools are required. Everything you need is probably already in your garage or can be picked up at any hardware store in Jackson for under $30 if you’re starting from scratch.
The Essential Tool List
You don’t need a contractor’s truck full of equipment to hang faux wood blinds. Here’s what you’ll actually use:
- Tape measure — a 25-foot steel tape is ideal; a fabric tape will give inaccurate readings
- Pencil — for marking bracket positions on the window frame or wall
- Cordless drill — a 12V or 18V drill with a Phillips-head bit handles most bracket screws
- Level — even a small 9-inch torpedo level prevents crooked installs
- Step stool or small ladder — for windows above 5 feet from the floor
- Screwdriver — for fine adjustments the drill might over-torque
Most custom blind packages include mounting brackets, screws, and a valance clip set. Check your box before buying extras.
Optional but Helpful Extras
A few additions make the job smoother:
- Stud finder — useful for outside-mount installs on drywall above the window frame
- Masking tape — mark your measurements on the window casing without leaving permanent marks
- Wall anchors — if you’re mounting into drywall with no stud behind it, 1/4-inch plastic anchors rated for 50 lbs are sufficient for most blind weights
- Microfiber cloth — wipe down the headrail before snapping it in; dust can interfere with the tilt mechanism
3. How to Measure Your Windows the Right Way
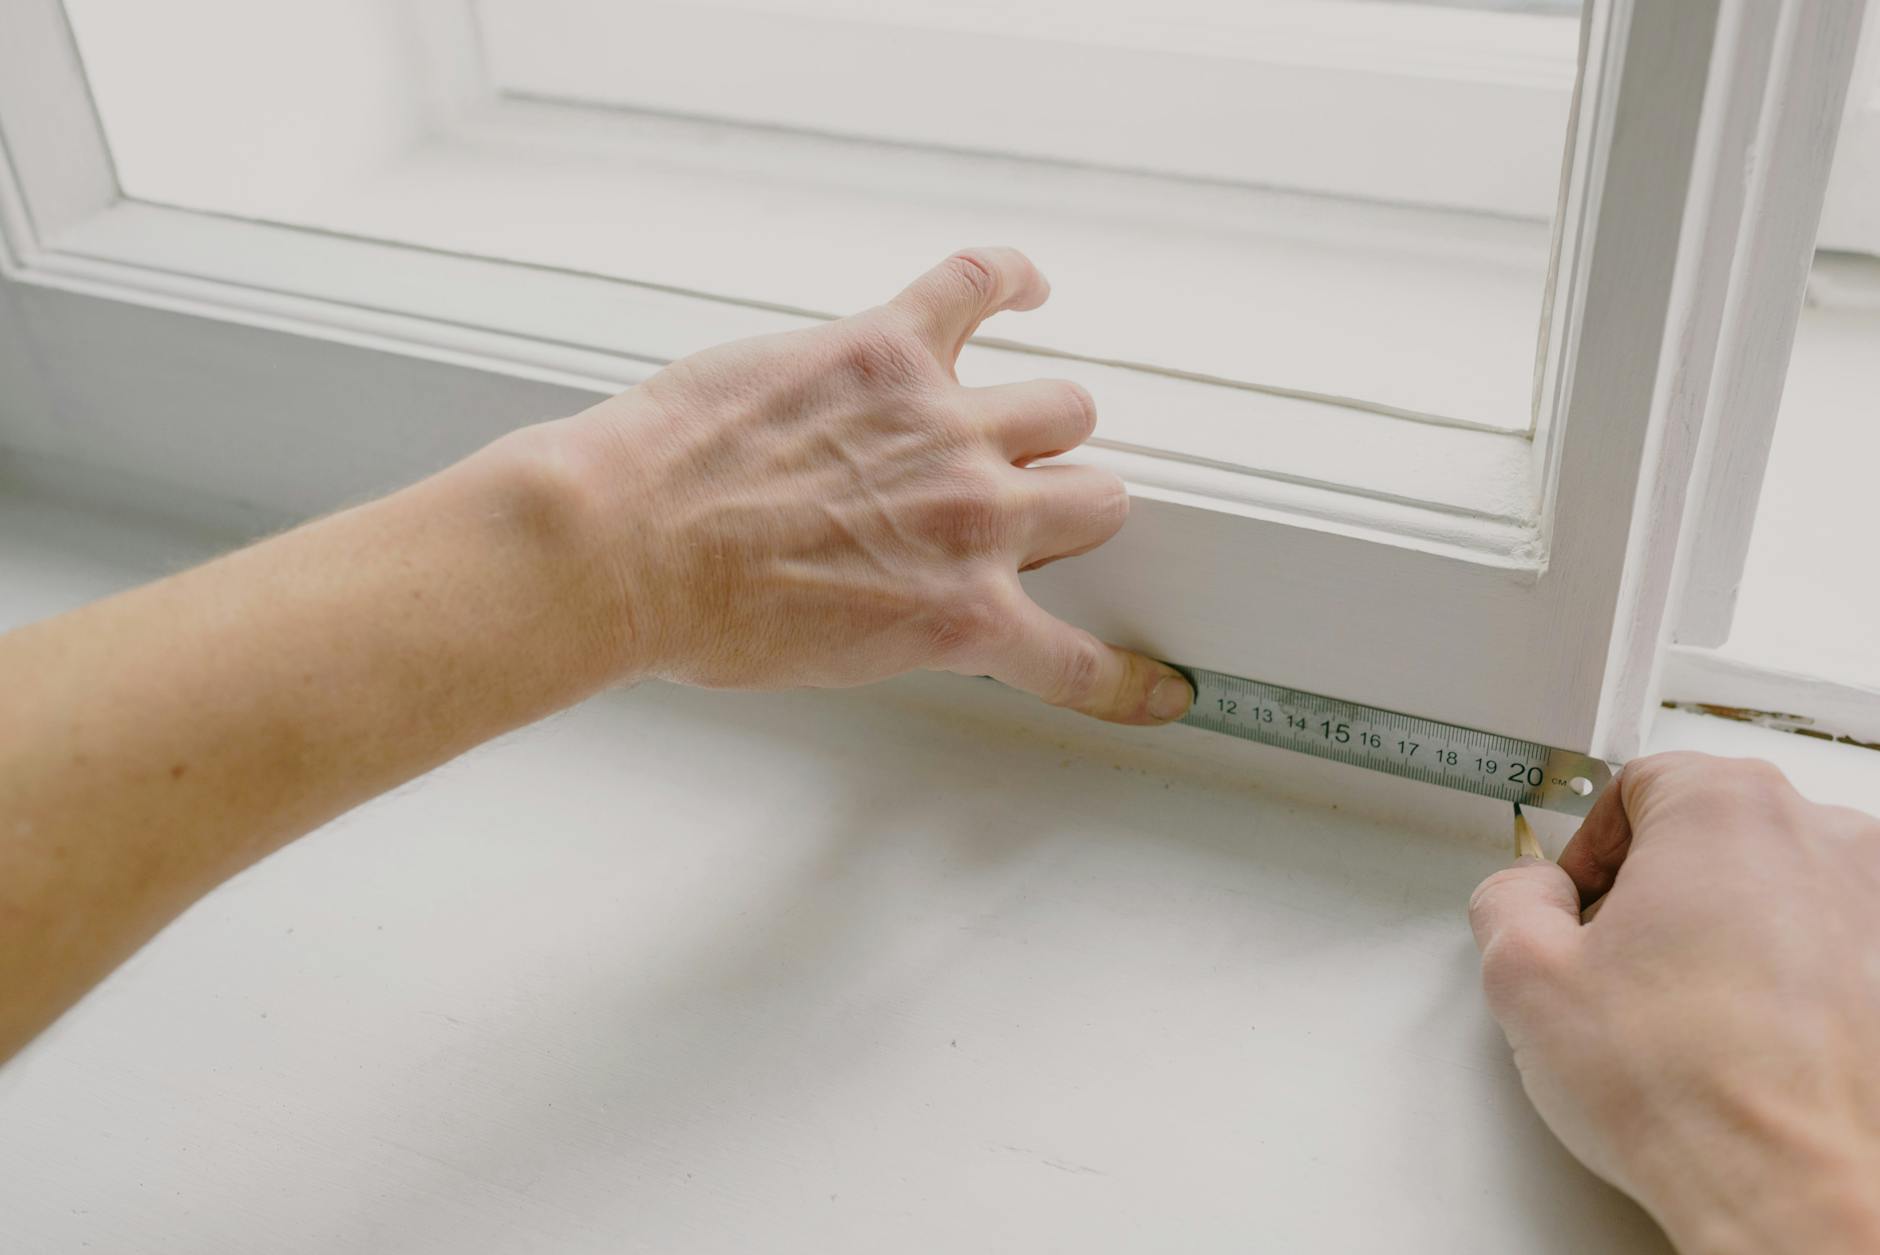
Accurate measuring is the single most important step in the entire installation process. Get this right and everything else is straightforward. Get it wrong and you’ll be waiting weeks for a replacement. Take your time here — most windows only take 3–5 minutes to measure properly when you follow a consistent process.
Inside Mount Measurements
An inside mount means the blind sits inside the window frame opening, creating a clean, built-in look. To measure correctly:
- Measure the width of the opening at three points: top, middle, and bottom. Use the narrowest measurement.
- Measure the height on the left side, center, and right side. Use the longest measurement.
- Order your blind at the exact measured size — custom manufacturers will deduct a standard clearance (usually 1/4 to 3/8 inch) so the blind fits without binding.
Minimum depth for inside mount faux wood blinds is typically 1.5 inches for a flush fit and 2.5 inches for a recessed look. Measure your window frame depth before ordering.
Outside Mount Measurements
An outside mount attaches the brackets to the wall or window casing above and outside the frame opening. This is the right choice when your window frame is too shallow for inside mount, or when you want to make a small window look larger.
- Add 2–3 inches to each side of the window width for light blockage and coverage.
- Add 2–4 inches above the window opening for the headrail mounting position.
- Measure height from the mounting point down to where you want the blind to end — typically the window sill or 1 inch below it.
Order these exact dimensions. Outside mount blinds are made to the size you specify, with no deductions.
The Golden Rule: Measure Twice, Order Once
Custom blinds are cut to your exact specifications — they can’t be returned or exchanged once manufactured. A mistake of even 1/4 inch can mean a blind that binds inside the frame or leaves a visible gap on outside mounts. Write every measurement down immediately after taking it. If you’re measuring multiple windows, label each one (e.g., ‘Master BR Left Window — 36.25″ W x 54.5″ H — Inside Mount’) so there’s no confusion at order time.
4. Inside Mount vs. Outside Mount: Which Is Right for Your Home?
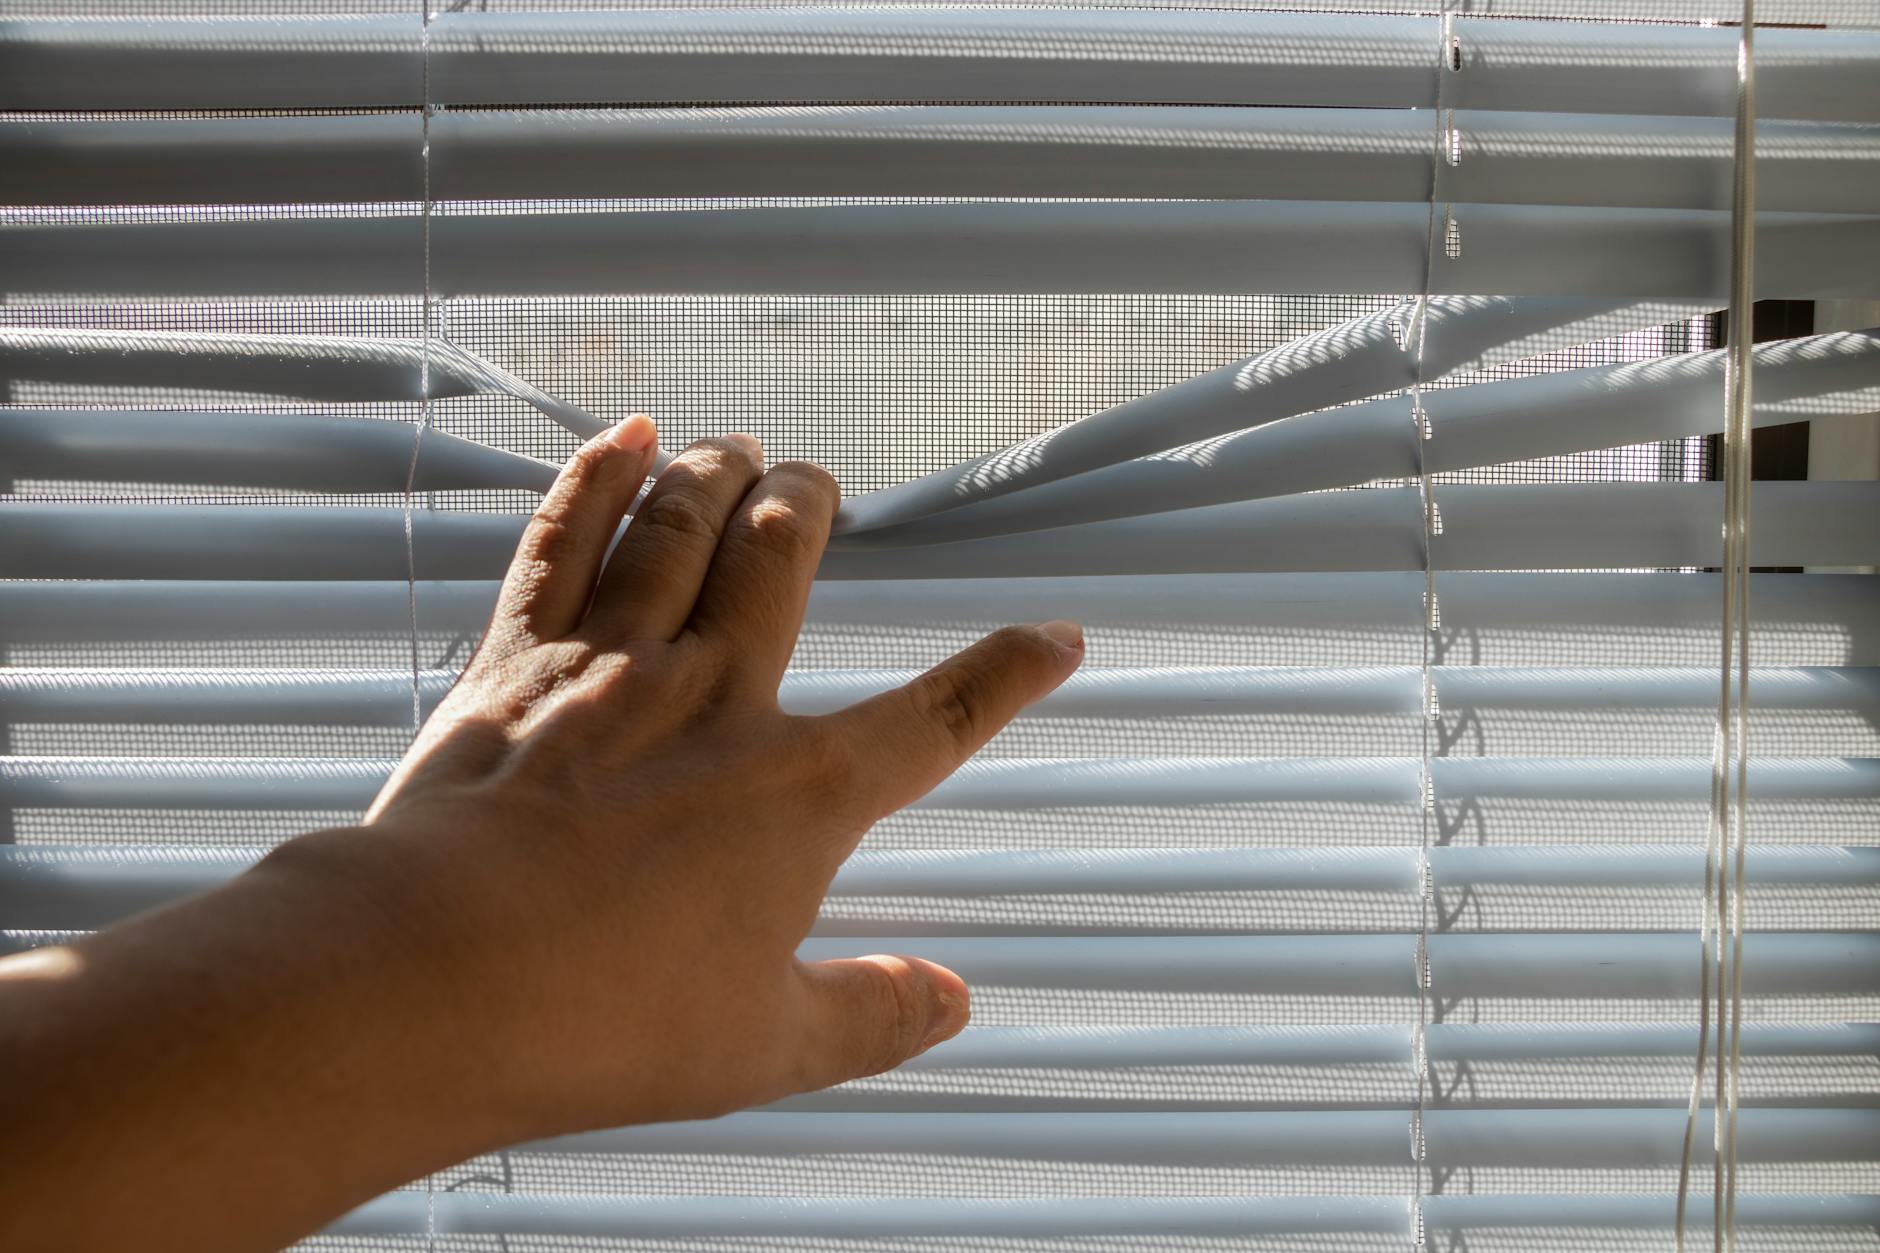
Choosing between inside and outside mount isn’t just an aesthetic decision — it’s also a practical one based on your window’s physical characteristics. Understanding the difference before you order saves you from receiving blinds that simply won’t work with your window. Here’s a straightforward breakdown to help you decide.
When to Choose Inside Mount
Inside mount is the preferred choice for most homeowners because it creates a clean, architectural look that shows off the window trim. Choose inside mount when:
- Your window frame depth is at least 1.5 inches (measure from the glass to the front edge of the frame)
- You have decorative molding or casing you want to keep visible
- You want a modern, streamlined appearance
- The window is a standard rectangular shape without obstructions inside the frame (like handles or cranks that stick out)
When to Choose Outside Mount
Outside mount is the practical choice in several common situations:
- Window frames shallower than 1.5 inches — common in older Jackson-area homes built before the 1980s
- Windows with casement cranks, tilt latches, or other hardware that protrudes into the frame
- When you want to visually enlarge a small window by extending the blind 2–3 inches on each side
- Sliding glass doors, where the blind must clear the door track
- Bay windows where the angled side panels don’t have enough depth for inside mount
5. Step-by-Step Bracket Installation

The brackets are the foundation of your installation. A bracket that’s crooked, loose, or improperly spaced will cause problems with every use of the blind for years to come. Take an extra five minutes here and you’ll never have to think about it again. Here’s the step-by-step process most faux wood blind manufacturers recommend.
Marking Your Bracket Positions
Most faux wood blinds come with two end brackets and, for blinds wider than 48 inches, one or more center support brackets. To mark positions:
- Hold the headrail up to the window in the mounting position and use a pencil to lightly mark where each bracket will sit.
- For inside mount, brackets typically go 1/4 inch from the front edge of the window frame so the valance hangs cleanly.
- Use your torpedo level to confirm the two end bracket marks are perfectly horizontal — a 1/4-inch difference in height creates a visibly crooked blind.
- Mark the screw hole positions through the bracket’s pre-drilled holes.
Drilling and Securing the Brackets
With your marks made:
- If mounting into wood (window frame or casing), drill a pilot hole slightly smaller than your screw diameter to prevent splitting — a 3/32-inch bit works for most #8 screws.
- If mounting into drywall without a stud, insert a plastic wall anchor first, then drive the screw into the anchor.
- Drive screws until snug — do not overtighten. Overtightening can strip the hole in softer wood frames or crack vinyl window frames common in newer construction.
- Give each bracket a firm tug to confirm it doesn’t move before hanging the headrail.
Spacing and Center Support Brackets
For blinds 48 inches wide or wider, a center support bracket is critical. Without it, the headrail can bow downward under the weight of the slats, causing the tilt rod to bind and the blind to operate unevenly. Position the center bracket at the midpoint of the headrail span. Some manufacturers include a center bracket that clips to the headrail itself rather than mounting to the wall — follow the included instructions for your specific product, as designs vary by brand.
6. Hanging the Headrail and Snapping in the Slats

Once your brackets are in place, the actual hanging of the blind takes less than two minutes per window. The key is understanding how the bracket’s locking mechanism works before you try to force the headrail in. Most modern faux wood blind brackets use a simple rear-hook-and-front-snap design that’s intuitive once you’ve seen it once.
Inserting the Headrail into the Brackets
With all brackets secured, hanging the headrail is the most satisfying part of the job:
- Angle the back of the headrail into the rear hook of the bracket first.
- Rotate the headrail upward and press the front edge up until you hear or feel it click into place.
- Test by gently pulling down on the headrail — it should not release without pressing the bracket’s release tab.
- Repeat for each bracket along the headrail length.
If the headrail doesn’t click in easily, check that you haven’t accidentally installed the bracket upside down — a common first-timer mistake.
Attaching the Valance and End Caps
The valance is the decorative front piece that hides the headrail and brackets. Most faux wood blind valances clip onto valance clips that you attach to the front of the headrail. Press the valance clips into the front channel of the headrail every 12–18 inches, then snap the valance onto the clips. End caps — small plastic pieces that cover the open ends of the headrail — press or snap on last. These finishing details make the difference between a professional-looking install and a DIY-looking one.
7. Testing and Adjusting the Tilt and Lift Mechanisms
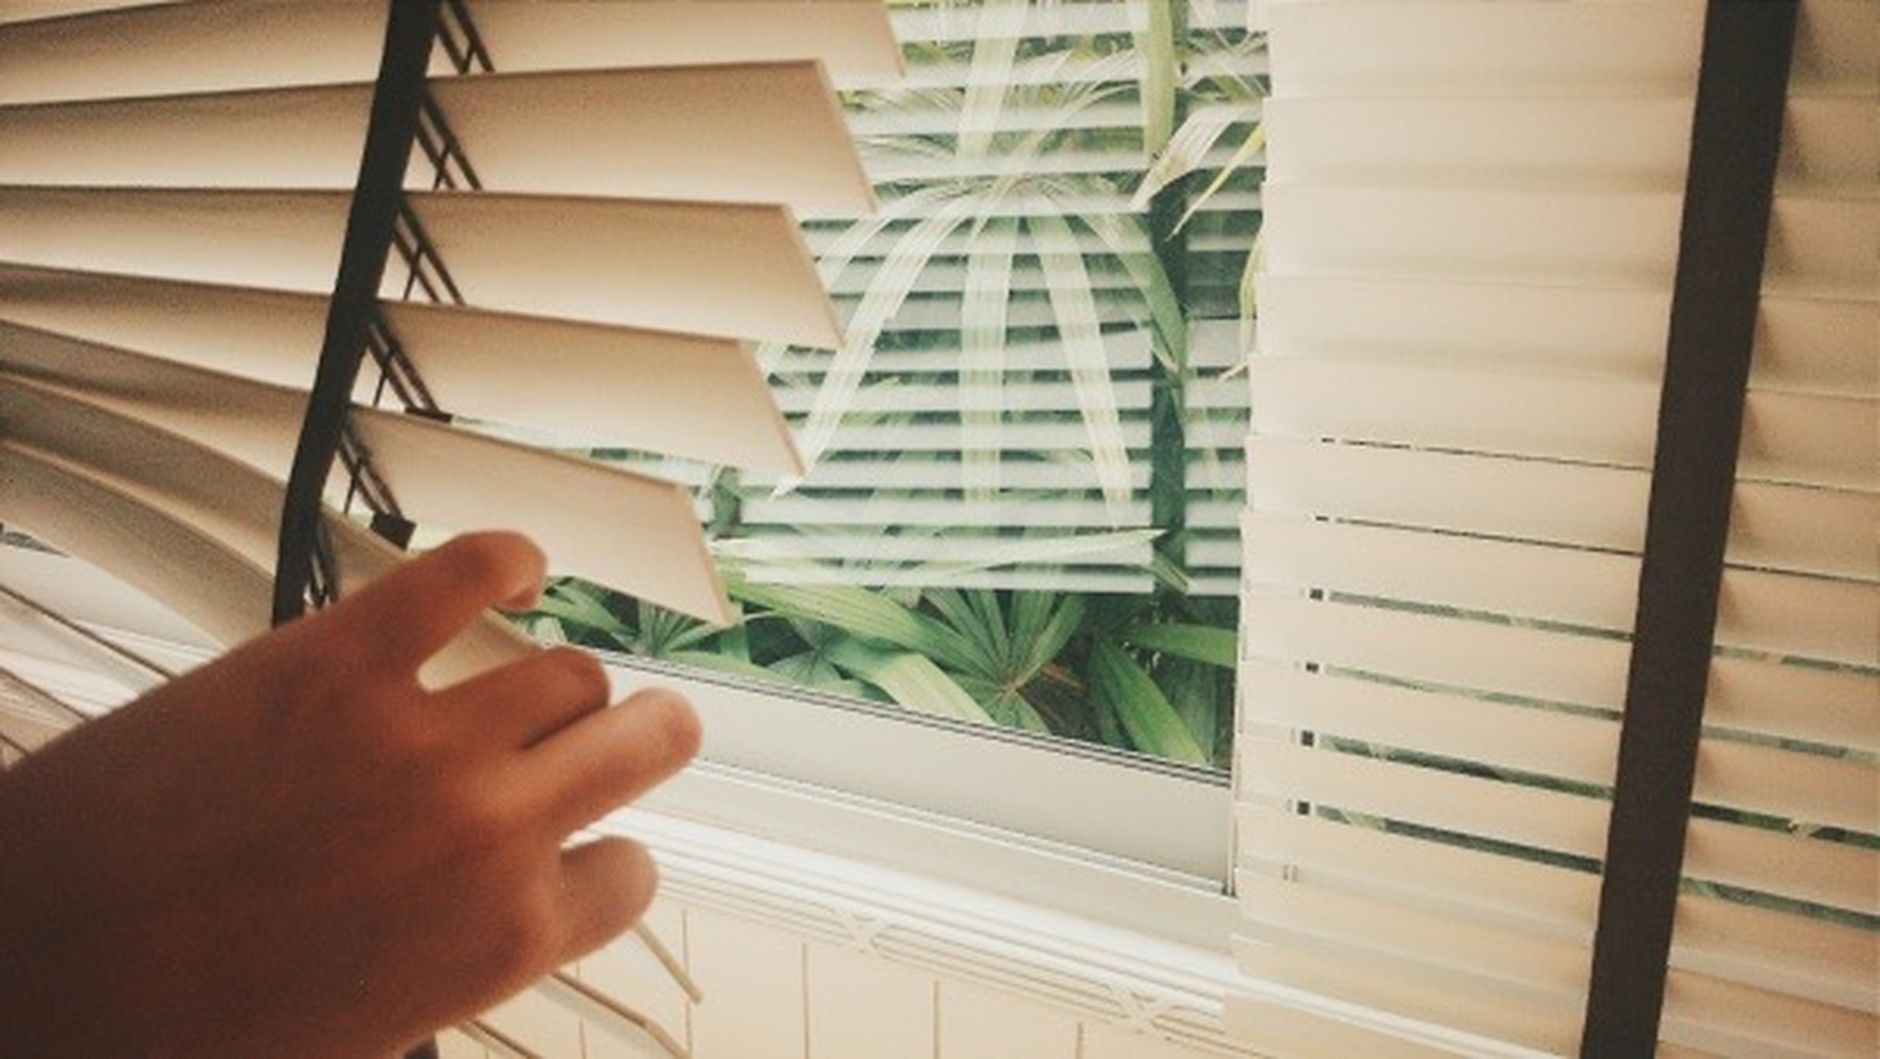
A blind that’s physically installed but not properly adjusted is only half done. Taking five minutes to test and tune the tilt and lift mechanisms ensures your blind will operate smoothly every day — and helps you catch any issues while you still have your tools out and your ladder in place.
Testing the Tilt Rod
The tilt rod (or tilt wand) rotates the slats between open, closed-front-facing, and closed-back-facing positions. After installation:
- Rotate the wand or twist the tilt cord slowly through its full range. The slats should move together smoothly with no binding or skipping.
- If slats skip or resist, check that the ladder strings (the fabric strips connecting each slat) haven’t become twisted during shipping. Gently untwist them by hand.
- If the tilt mechanism feels stiff, the headrail may be slightly bowed — loosen the center bracket screw by a quarter turn to relieve pressure.
Testing the Lift Cord
Pull the lift cord or activate the cordless lift mechanism to raise and lower the blind through its full travel:
- The blind should raise evenly across its width — if one side rises faster than the other, a cord may have jumped its pulley inside the headrail. Lower the blind fully and re-thread the cord through the correct pulley channel.
- For cordless blinds, push up firmly from the bottom rail with both hands near the center. The blind should lock at any position and release with a slight downward push before rising again.
- Check that the bottom rail hangs level when the blind is fully lowered.
Faux Wood Blind Mount Types, Slat Sizes, and Use Cases at a Glance
Use this quick-reference table to match your window type, room, and priorities to the right blind configuration before you order.
8. Common DIY Installation Mistakes and How to Avoid Them
Even experienced DIYers make installation mistakes on their first few windows. The good news is that most common errors are completely avoidable with a little foreknowledge. Here are the mistakes we see most often — and how to sidestep each one before it costs you time or money.
Measuring the Wrong Dimension
The most common and costly mistake is measuring the outside of the window frame when ordering an inside-mount blind, or vice versa. Always confirm your mount type before you measure, and label every measurement with the mount type. A blind ordered 3 inches too wide for an inside mount is unusable — custom blinds cannot be trimmed down in the field without specialized equipment.
Skipping the Level Check
It’s tempting to eyeball bracket placement, especially on a window with a horizontal sill that looks perfectly flat. Don’t. Window frames in older homes — and even some newer ones — are rarely perfectly level. A blind hung without a level check can hang noticeably crooked, which is especially obvious when the slats are tilted open. Spend 30 seconds with a torpedo level and save yourself the frustration.
Overtightening Screws into Vinyl Frames
Many windows in Jackson-area homes built after 2000 have vinyl (PVC) window frames. Vinyl is softer than wood and can crack or strip if screws are overtightened. Drive screws until they’re snug and the bracket doesn’t wiggle — then stop. If a screw strips out, fill the hole with a wooden toothpick and a drop of wood glue, let it dry for an hour, then re-drive the screw. This works surprisingly well even in vinyl.
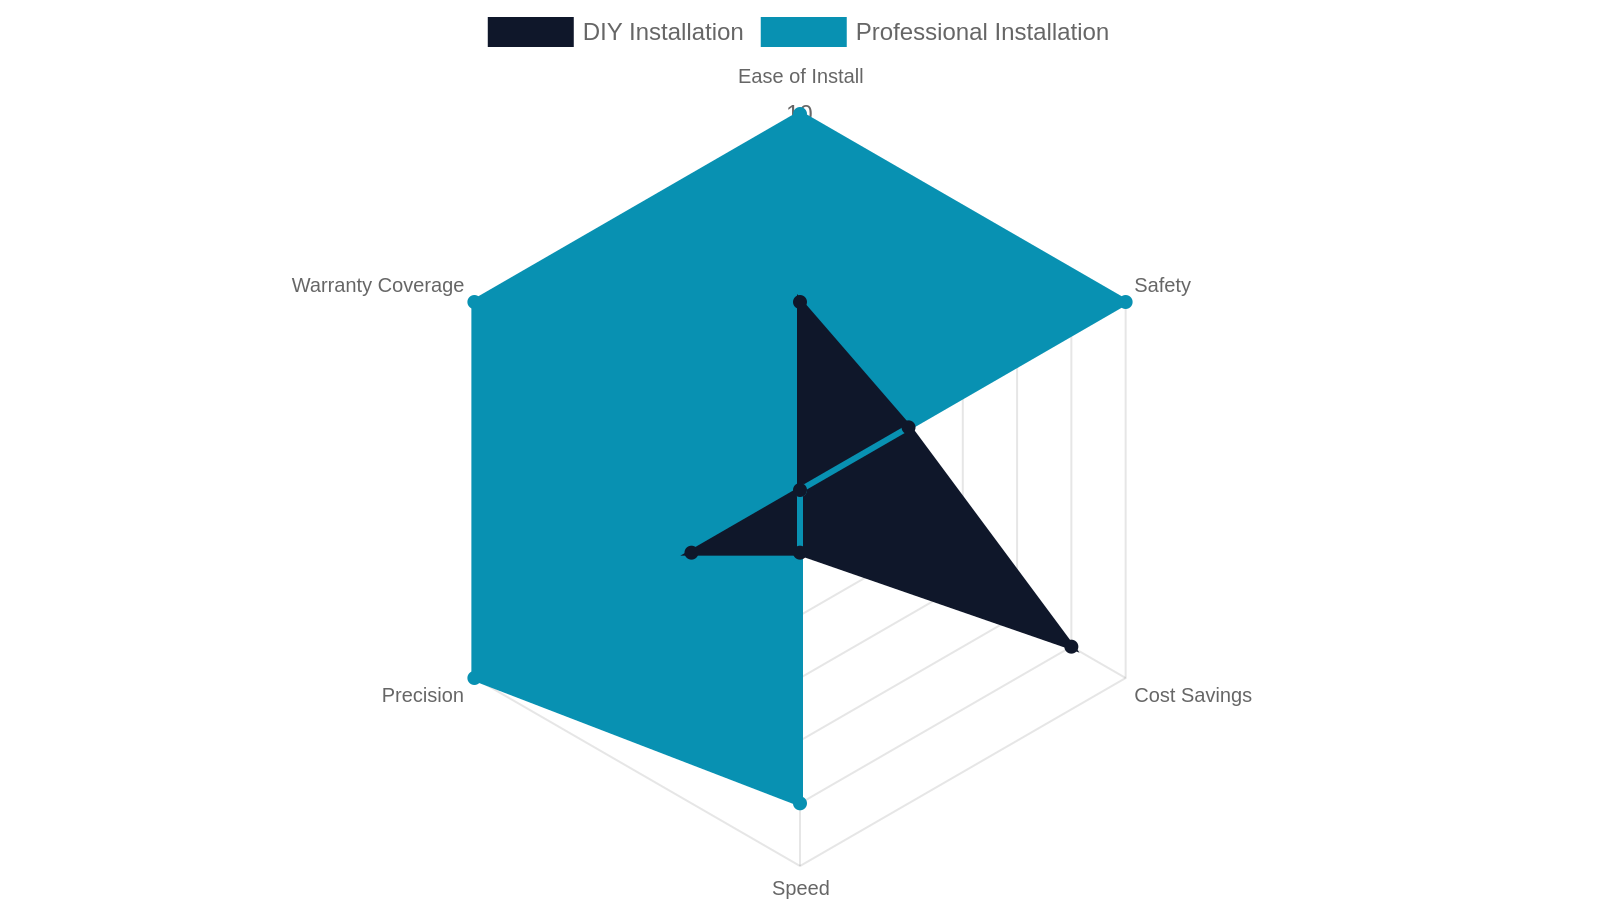
9. When DIY Makes Sense — and When to Call a Professional
Honest answer: DIY faux wood blind installation works beautifully on most standard windows. But there are situations where the time, safety risk, or complexity genuinely tips the scales toward professional help. Knowing the difference before you start saves you from getting halfway through a job and realizing you’re in over your head.
Windows Where DIY Works Great
DIY installation is a perfectly reasonable choice for:
- Standard rectangular windows — single-hung, double-hung, or casement windows with flat frames and adequate depth
- Repeat installs — once you’ve done two or three windows, the process becomes quick and intuitive
- Ground-floor windows where a step stool is sufficient and no scaffolding is needed
- Homes with consistent window sizes — if all your bedrooms have the same window dimensions, you can batch the work efficiently
Situations That Benefit from Professional Installation
Some scenarios genuinely call for a professional touch:
- Arched or specialty-shaped windows — require custom headrail shaping and precise bracket placement
- Very wide blinds (72 inches+) — heavy and awkward to hold in place alone while drilling
- Two-story windows or high transoms — safety risk without proper scaffolding
- Historic homes with plaster walls or unusual frame materials that require specialty anchors
- Large projects (10+ windows) — a pro team can complete a whole house in a single day; DIY on that scale can stretch over multiple weekends
Professional installation also comes with a workmanship guarantee — if anything shifts or fails, it gets fixed at no cost to you.
10. Caring for Your Faux Wood Blinds After Installation
Installation is a one-time event, but maintenance is ongoing. The great news about faux wood blinds is that they’re among the lowest-maintenance window treatments available. A few minutes of care every month keeps them looking sharp for years — and protects the investment you made in measuring and installing them correctly.
Routine Cleaning and Dusting
One of the biggest advantages of faux wood over real wood is how easy it is to clean. For routine maintenance:
- Dust slats with a microfiber duster or dry cloth every 2–4 weeks — close the slats fully in one direction, dust, then reverse and dust the other side.
- For deeper cleaning, wipe slats with a damp cloth and mild dish soap. Faux wood won’t warp or swell from light moisture the way real wood does.
- Avoid abrasive cleaners or solvents — they can dull the finish over time.
In kitchen environments, a monthly wipe-down with a diluted degreaser keeps grease buildup from making slats sticky and difficult to tilt.
Inspecting Cords and Mechanisms Annually
Once a year — a good time is during your spring cleaning routine — give each blind a quick safety and function inspection:
- Check lift cords for fraying or kinking near the pulley points
- Confirm that cordless lift springs still hold the blind at mid-height without drifting
- Re-tighten bracket screws if any have worked loose from repeated use
- Look for slats that have bowed or warped — rare with quality faux wood, but possible near heating vents that blast very dry air in winter
Catching small issues early extends the life of your blinds significantly. Quality faux wood blinds installed correctly should last 10–20 years with basic care.
Ready to Upgrade? Let Blinds Galore Make It Easy in Jackson, TN

Whether you tackle the installation yourself using the steps in this guide or prefer to hand it off to a trusted local team, the end result is the same: beautiful, durable faux wood blinds that make your Jackson, TN home more comfortable, more energy-efficient, and more attractive. Here’s how Blinds Galore can support you every step of the way — from the first measurement to the final adjustment.
Free In-Home Consultations — We Come to You
Measuring, ordering, and installing custom blinds is genuinely manageable as a DIY project — but it’s even easier when you have expert guidance from the start. Blinds Galore brings the showroom directly to your home anywhere in the Jackson, TN area, including Lexington, Henderson, and Milan. Our team measures every window precisely, walks you through style and mount options, and places your custom order on the spot. No guesswork, no trips to a store, no surprises when the blinds arrive.
If you’d like to explore your options before committing, learn more about upgrading to custom faux wood blinds with Blinds Galore in West Tennessee — we’ve put together everything you need to know about our products, pricing, and process.
Professional Installation and a 100% Satisfaction Guarantee
Every blind we install comes backed by our 100% satisfaction guarantee. If something isn’t right — a measurement issue, a mechanism that doesn’t operate smoothly, a color that looks different in your home’s light — we make it right. With over 18 years of experience serving West Tennessee homeowners, we’ve seen every window situation imaginable and know how to handle them. You can also explore our full custom shades collection if you’re considering shades alongside or instead of blinds for certain rooms.
Ready to get started? Call us at (731) 571-5179 to schedule your free in-home consultation, or reach out through our contact page and we’ll get back to you promptly. There’s no obligation and no pressure — just honest advice from your neighbors in Jackson, TN.
Frequently Asked Questions
Can I install faux wood blinds by myself without any experience?
Yes — most homeowners with basic DIY skills can install faux wood blinds on standard rectangular windows. The process requires a tape measure, a level, and a cordless drill. Plan for about 15–30 minutes per window on your first attempt, dropping to 10–15 minutes once you've done a few.
How do I know if I need inside mount or outside mount faux wood blinds?
Measure the depth of your window frame from the glass to the front edge. If it's at least 1.5 inches, inside mount is possible. If the frame is shallower, has obstructions like cranks, or you want to visually enlarge the window, choose outside mount.
What is the standard slat size for faux wood blinds?
The two most common slat sizes are 2-inch and 2.5-inch. Two-inch slats are the most popular for residential windows and offer a classic look. Two-and-a-half-inch slats create a bolder, more contemporary appearance and are often chosen for larger windows or open-plan spaces.
How long do faux wood blinds last compared to real wood blinds?
Quality faux wood blinds typically last 10–20 years with basic care. Real wood blinds in humid climates like West Tennessee may show warping or cracking within 3–7 years, making faux wood the longer-lasting choice for most homes in the Jackson, TN area.
Do faux wood blinds help with energy efficiency in Tennessee summers?
Yes. Fully closed faux wood blinds can reduce solar heat gain through windows by up to 45%, according to the U.S. Department of Energy. In Jackson, TN's hot summers, this can meaningfully reduce the load on your air conditioning system and lower monthly utility bills.
Can Blinds Galore install custom faux wood blinds for me in Jackson, TN?
Absolutely. Blinds Galore offers free in-home consultations, professional measuring, and custom installation throughout Jackson, TN and surrounding communities including Lexington, Henderson, and Milan. Call (731) 571-5179 to schedule your no-obligation consultation.
You might also like

How to Choose the Right Window Treatment Style Using Product Videos
Quick answer: Choosing the right window treatment — blinds, shades, or plantation shutters — comes

7 Best Custom Blinds for Laundry Rooms and Utility Spaces in Jackson, TN
Quick answer: The best custom blinds for laundry rooms and utility spaces in Jackson, TN are moisture-resistant

8 Best Custom Blinds for Kitchens with Large Windows in Jackson, TN
Quick answer: For kitchens with large windows in Jackson, TN, the best custom blinds balance moisture

9 Best Window Treatments for Jackson TN Home Theaters and Media Rooms
Quick answer: For home theaters and media rooms in Jackson, TN, the single best window treatment is a

7 Best Custom Blinds for Sunrooms and Screened Porches in Jackson, TN
Quick answer: The best custom blinds for sunrooms and screened porches in Jackson, TN balance UV protection,

Faux Wood Blinds vs Cellular Shades: Your 9-Point Guide for West Tennessee Sunrooms
Quick answer: For West Tennessee sunrooms and screened porches, faux wood blinds win on moisture resistance,